RPGJS Studio AI: Combat System and Menu Enhancements
Learn how to create items, manage inventory, design enemies, and set up combat encounters in RPGJS Studio AI with this step-by-step tutorial.
RPGJS Studio: Creating Your First Combat System
Welcome to RPGJS Studio AI! In this tutorial, we’ll walk you through creating a complete combat system for your RPG game. You’ll learn how to create items with icons, set up your hero’s starting inventory, design enemies, place them on your map, configure their behavior, and test your game. Let’s dive in!
Step 1: Creating an Item with an Icon
Every great RPG starts with items. Let’s create your first item—a healing potion, a sword, or anything you need for your game.
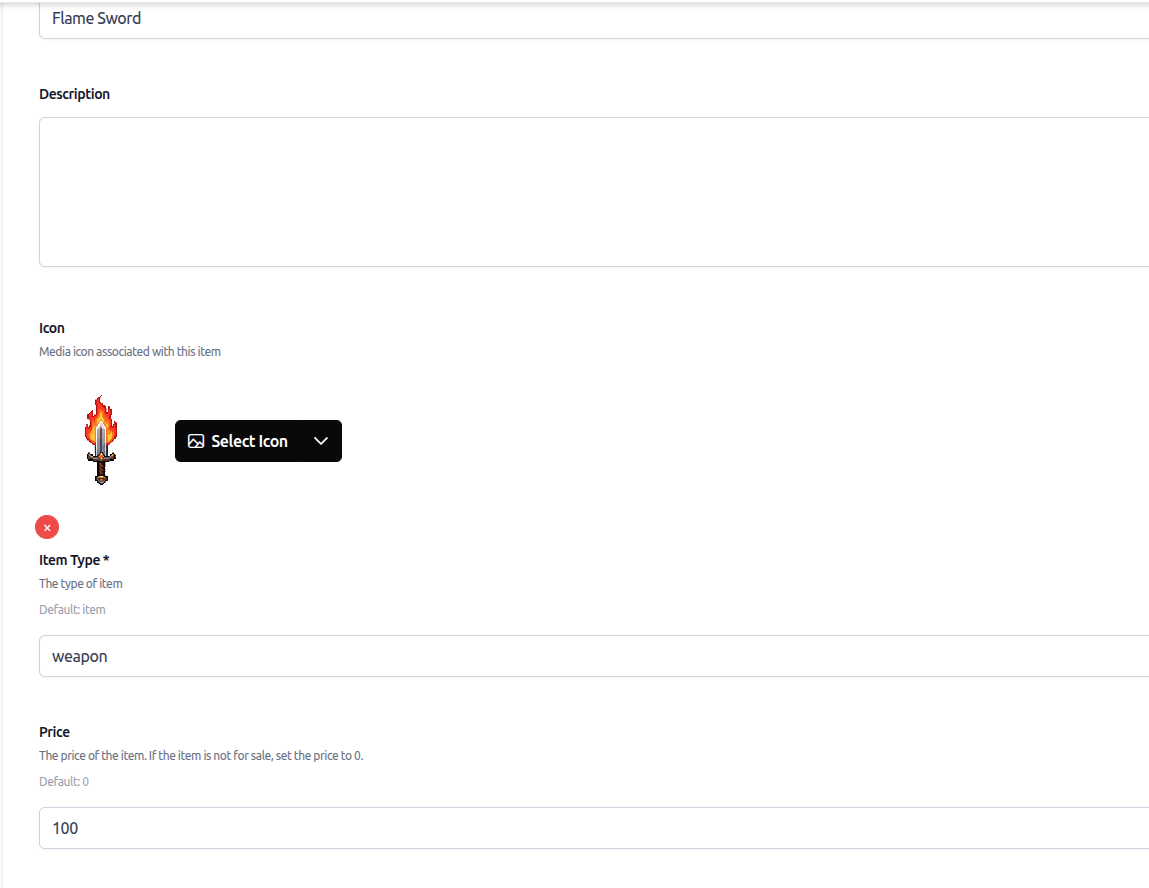
In RPGJS Studio AI, creating items is straightforward. Navigate to the items section and click on “Create New Item”. Here, you can:
- Name your item: Give it a descriptive name like “Health Potion” or “Iron Sword”
- Add an icon: Upload or select an icon that represents your item visually
- Set item properties: Define what the item does—does it heal? Does it increase attack power?
- Configure item type: Is it a consumable, a weapon, armor, or a key item?
Once you’ve configured your item, save it. This item will now be available throughout your game and can be added to inventories, shops, and enemy rewards.
Step 2: Setting Up Your Hero’s Starting Inventory
Now that you have items, let’s make sure your hero starts the game with some essential equipment. This is crucial for giving players the tools they need from the beginning.
Go to your hero’s configuration panel. Here you’ll find the “Starting Inventory” section. This is where you’ll add the items your hero will have when the game begins.
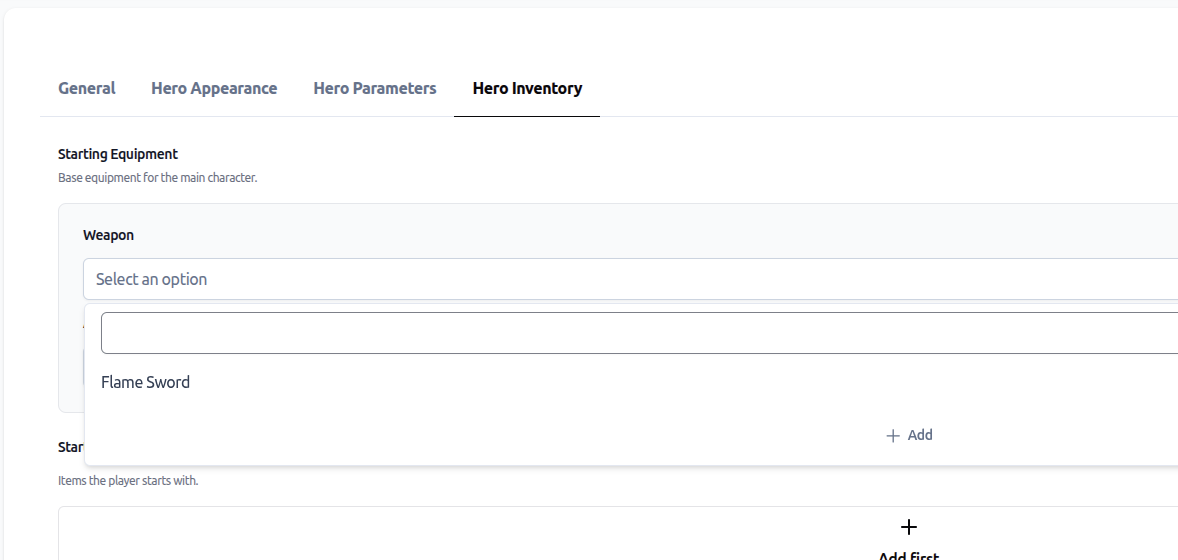
You can:
- Add multiple items: Give your hero a starter weapon, some healing items, and basic equipment
- Set quantities: If an item is consumable, specify how many the hero starts with
- Equip items automatically: Choose which items should be equipped by default
This starting inventory ensures your players have everything they need to begin their adventure. You can always add more items later through events, shops, or enemy rewards.
Step 3: Accessing the Menu System
Before we create enemies, let’s take a quick look at the menu system. Your game now includes a comprehensive HUD and main menu that players can access at any time.
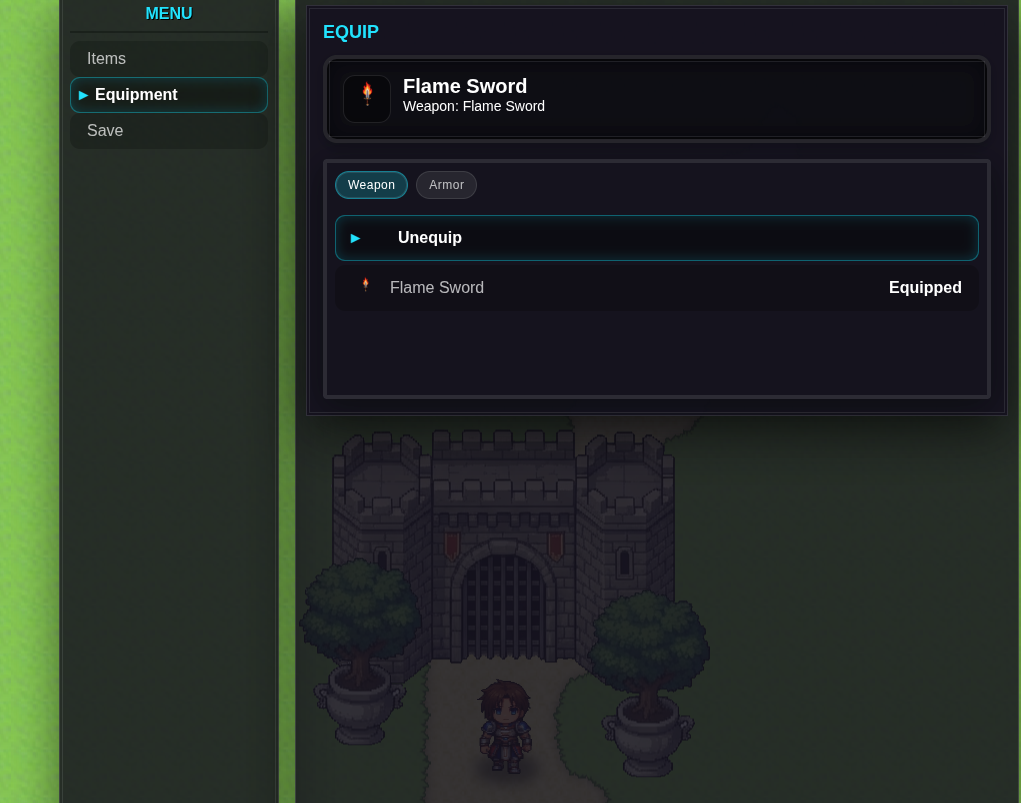
The menu system includes:
- HUD Display: Shows health, experience, level, and other vital stats during gameplay
- Main Menu: Accessible via a key press, containing inventory, equipment, and character stats
- Inventory Management: Players can view all their items, use consumables, and organize their gear
- Equipment Screen: Equip and unequip weapons and armor, seeing stat changes in real-time
This menu system works automatically once you’ve set up your items and hero configuration. Players will be able to manage their inventory and equipment seamlessly throughout the game.
Step 4: Creating Your First Enemy
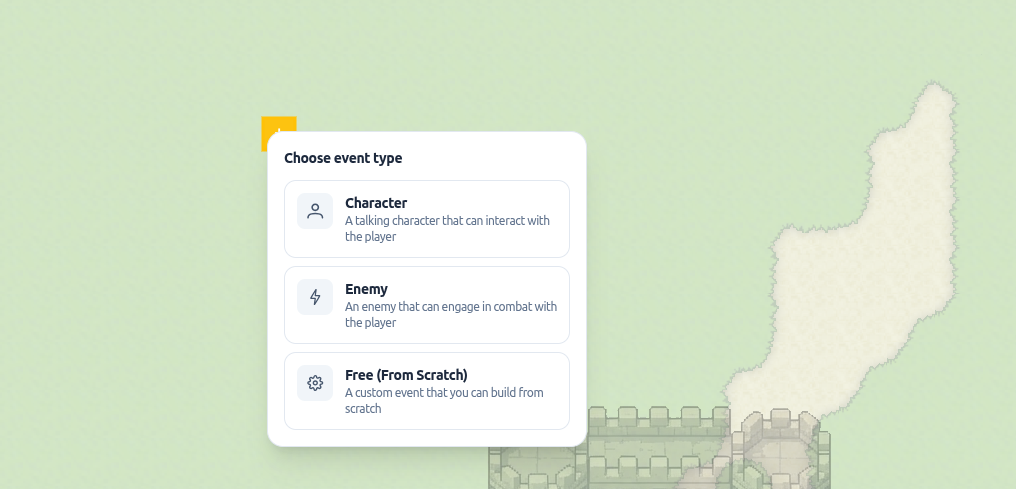
Now for the exciting part—creating enemies! Enemies are what make your RPG challenging and engaging. Let’s create your first enemy.
Navigate to the enemies section in RPGJS Studio AI and click “Create New Enemy”. Here you’ll configure:
- Enemy name: Give it a memorable name like “Goblin Warrior” or “Dark Mage”
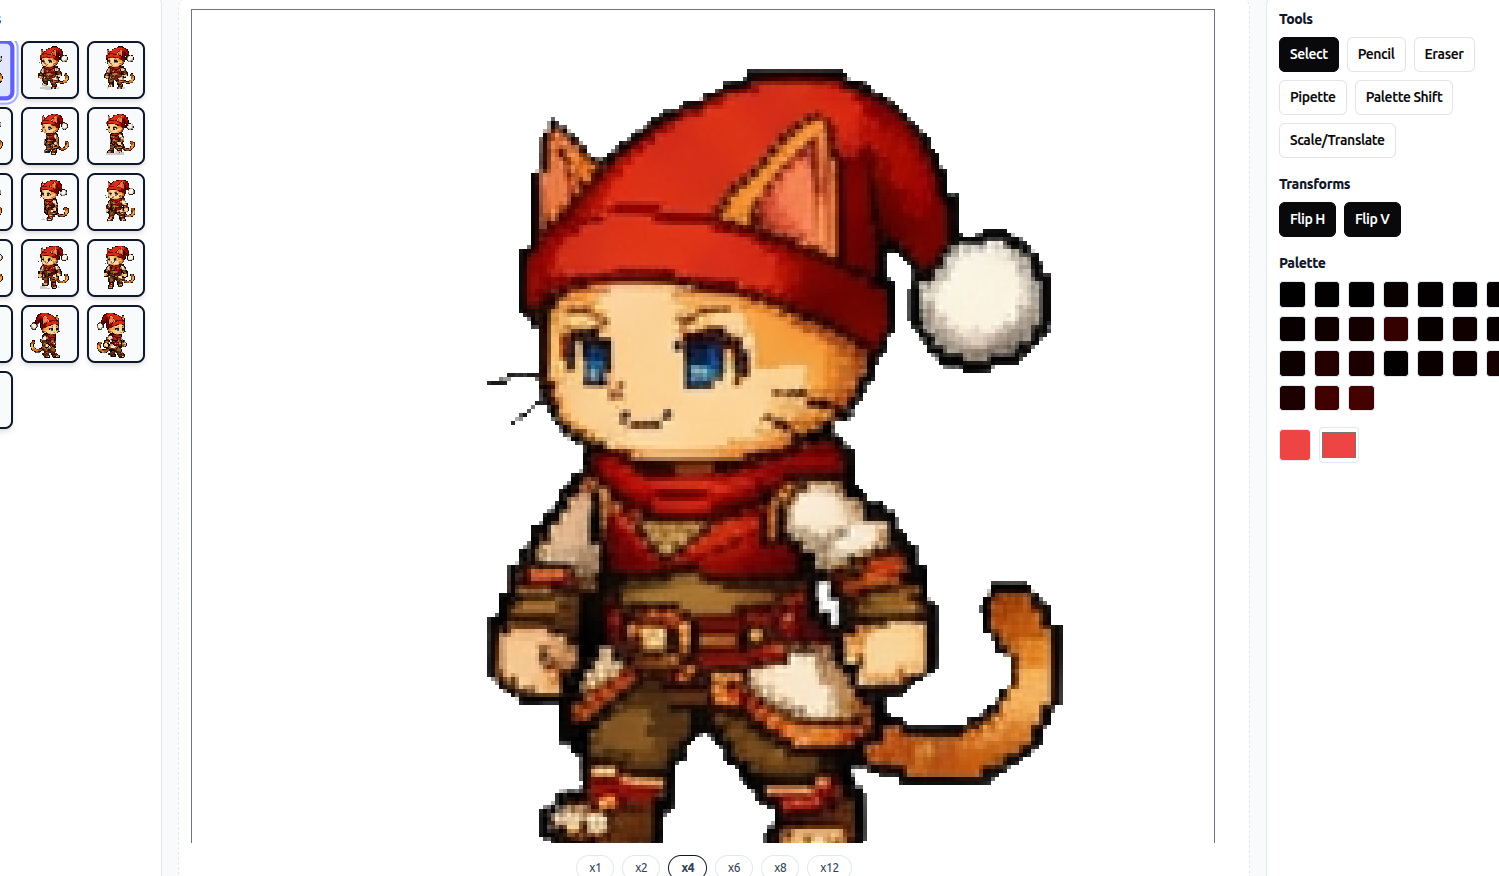
- Enemy sprite: Choose or upload the visual representation of your enemy
- Base stats: Set HP, attack, defense, and other combat parameters
- (coming soon) Combat behavior: Define how the enemy moves and attacks

This is where you bring your game’s challenges to life. Think about what makes each enemy unique—some might be fast but weak, others slow but powerful.
Step 5: Configuring Enemy Rewards
What’s the point of defeating enemies if there’s no reward? Let’s configure what players get when they defeat your enemy.
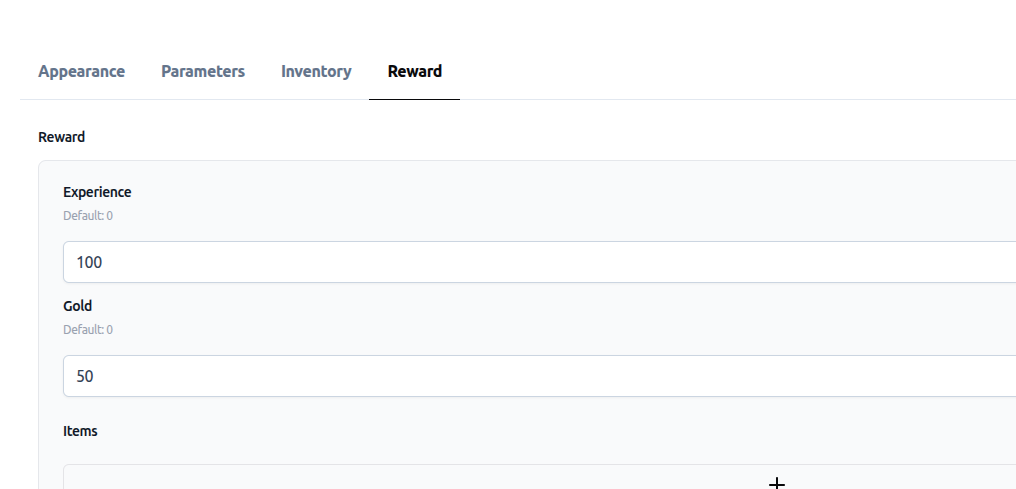
In the enemy configuration, find the “Rewards” section. Here you can set:
- Experience Points: How much XP the player gains from defeating this enemy
- Gold: The amount of currency dropped
- Items: Specific items that can be dropped (with drop rates if you want randomness)
A well-balanced reward system keeps players engaged. Too little reward feels unrewarding, while too much makes the game too easy. Find the sweet spot that matches your game’s difficulty curve.
Step 6: Placing Enemies on Your Map
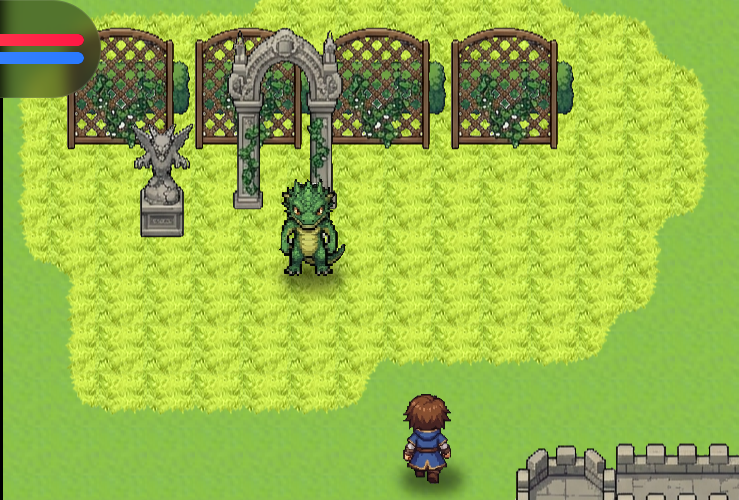
Now that your enemy is created and configured, it’s time to place them in your game world. This is where your maps come alive with danger and adventure.
Open your map editor and select the “Add Enemy” tool. You can now click anywhere on your map to place an enemy. Consider strategic placement:
- Entry points: Place weaker enemies near the start of your map
- Chokepoints: Use enemies to guard important areas
- Boss locations: Reserve special spots for powerful enemies
- Patrol routes: Some enemies can patrol specific areas
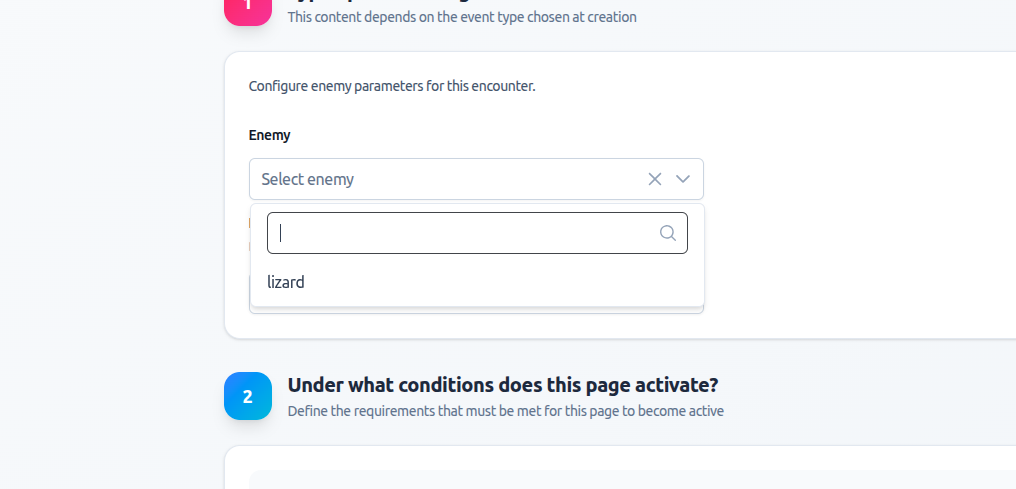
Step 7: Configuring Enemy Behavior on the Map
Once placed, each enemy can be individually configured. This is where you fine-tune how enemies behave in your game world. Choose level of difficulty for the enemy.
Step 8: Testing Your Game
Everything is set up! Now it’s time to test your game and see your combat system in action.
Click the “Play” button in RPGJS Studio AI to launch your game (in world page). You’ll be able to:
- Test combat: Approach enemies and engage in battle
- Check inventory: Open the menu to see your starting items
- Fight enemies: Experience the combat system you’ve created
- Gain rewards: Defeat enemies and see the rewards you configured
- Level up: Watch your character grow stronger as you gain experience
As you play, pay attention to:
- Combat balance: Are enemies too easy or too hard?
- Reward pacing: Are players getting enough rewards to progress?
- Inventory management: Is the starting inventory appropriate?
- Enemy placement: Do encounters feel natural and engaging?
Don’t be afraid to iterate. Game design is an iterative process—test, adjust, and test again until everything feels just right.
Additional Features: New Event Blocks
Beyond the core combat system, RPGJS Studio AI now includes powerful event blocks that give you even more control:
Character Management
- Display Notification: Show messages and alerts to players
- Change HP/SP: Modify health and skill points
- Change Experience/Level: Adjust character progression
- Change Parameters: Modify stats like attack, defense, speed
- Restore HP and SP: Full restoration for rest areas or healing items
Equipment and Menus
- Change Equipment: Programmatically equip items
- Call Main Menu: Open menus from events
- Call Shop: Open shop interfaces
- Show Save Menu: Allow saving at any time
Game Flow
- Call Game Over: Trigger game over conditions
- Move Route: Create complex NPC movement patterns
- Show Up Animation: Trigger visual effects
- Erase Event: Remove events after they’re triggered
These blocks work seamlessly with your combat system, allowing you to create complex interactions, quests, and game mechanics.
The combat system, combined with the menu system and new event blocks, gives you everything you need to create engaging, complete RPG experiences. Whether you’re building a simple adventure or a complex RPG with deep mechanics, these tools provide the foundation for great gameplay.
Now go forth and create amazing RPG adventures! The only limit is your imagination.